Props
Custom made and used for photoshoots
All props are made to look and feel as real as possible. This means that I will try to use materials such as different kinds of metal, wood and leather.
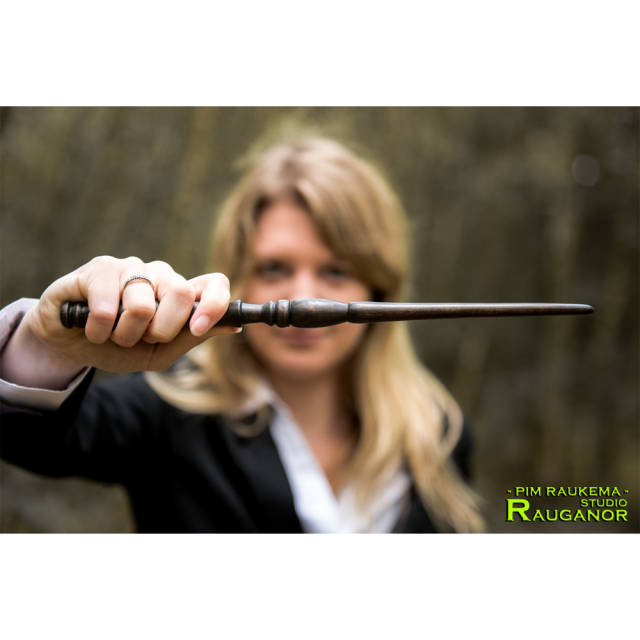
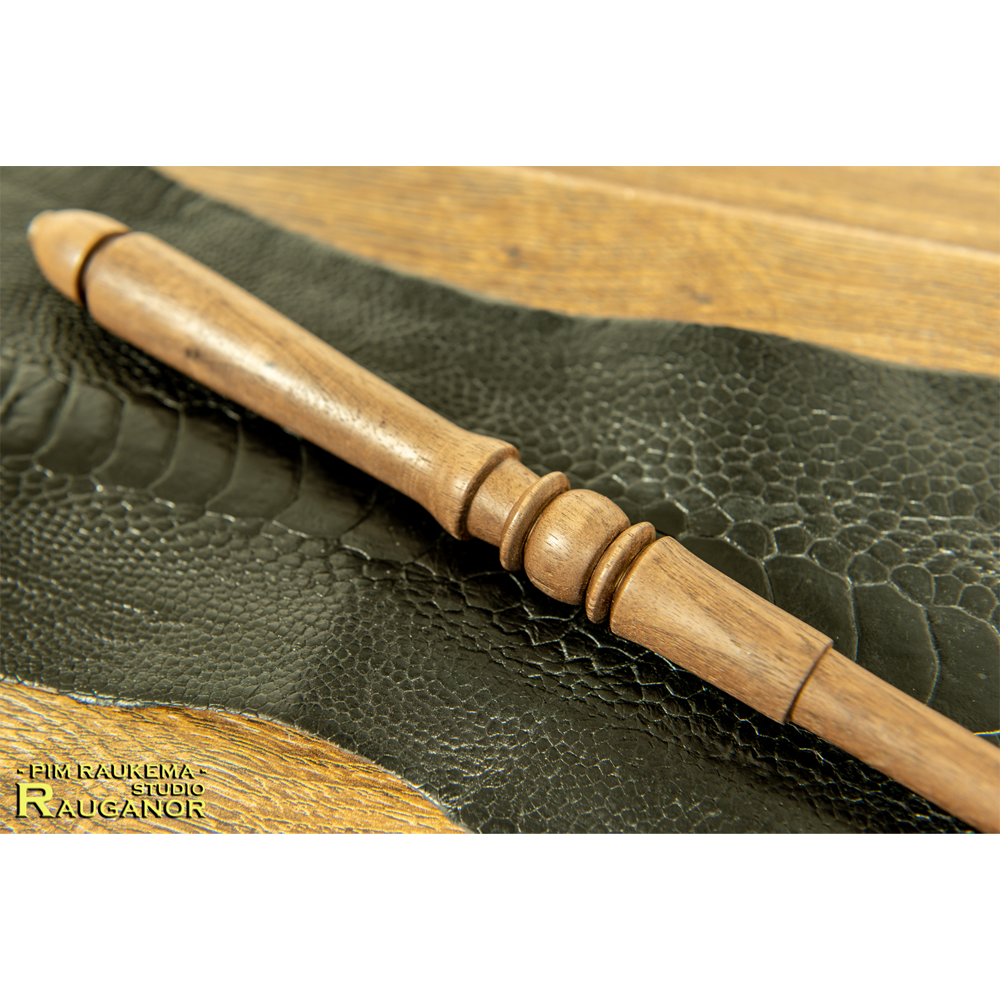
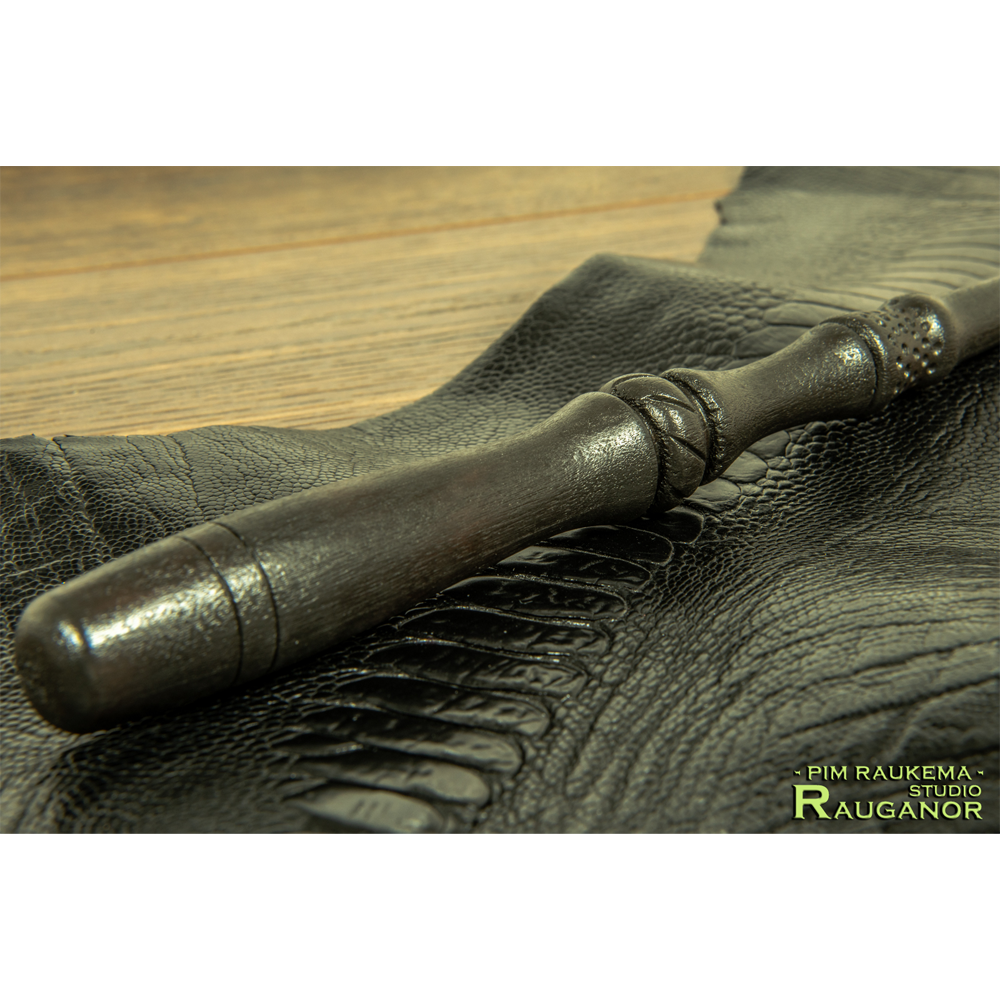
Wands
The majority of my wands is made according to the wand lore as it is described on the official Pottermore website. I use locally found woods such as oak, willow, chestnut and pine as well as walnut and acacia. Each wand is given a core element before being shaped further. This core is made from a variety of materials such as iron, bronze, silver and serpent skin. It is even possible to put something personal, like a string of hair, or a hand written spell.
Depending on the design the wand is either turned on a lathe or hand carved. The wand is then sanded smooth and stained to provide it with the final color(s). The staining also brings out the wood grain. A black color is obtained by burning the wood, this also gives it an extra smooth surface. After coloring I finish the wand with a coat of clear lacquer. This will protect the wand and also gives it a semi gloss finish.


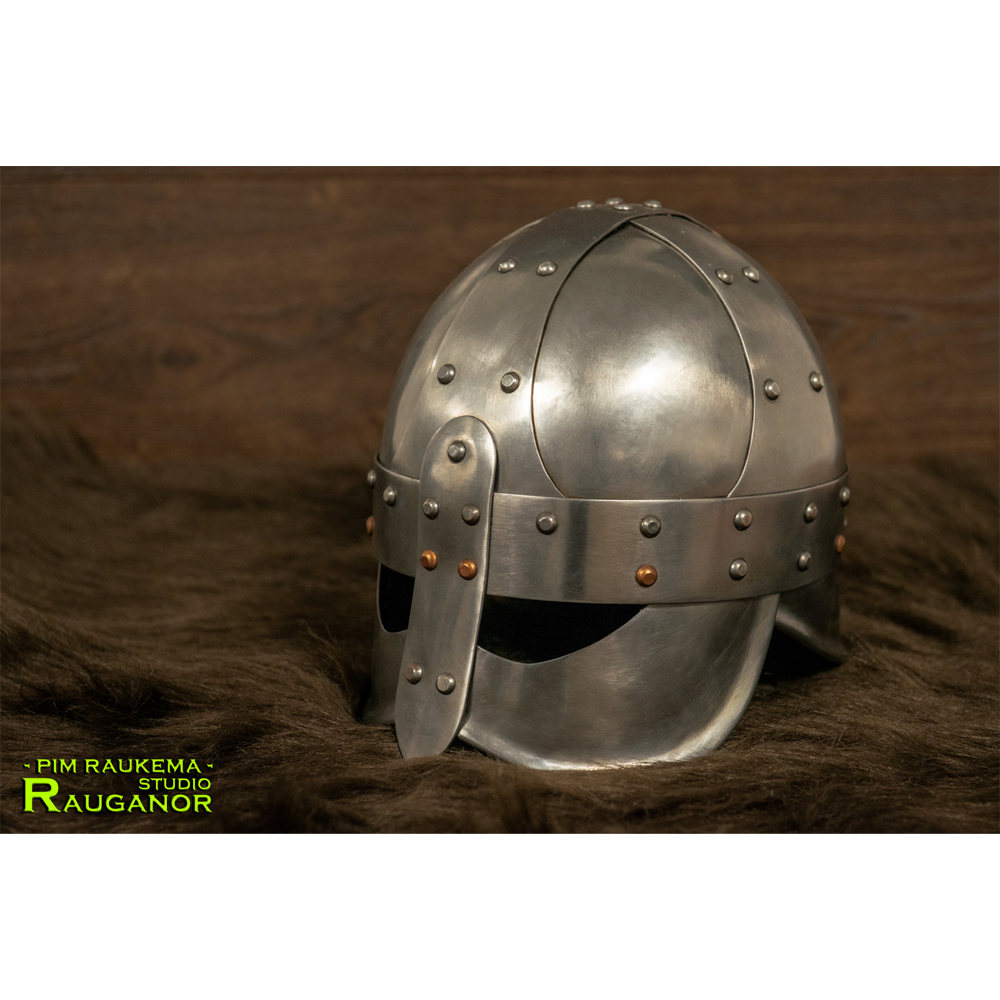
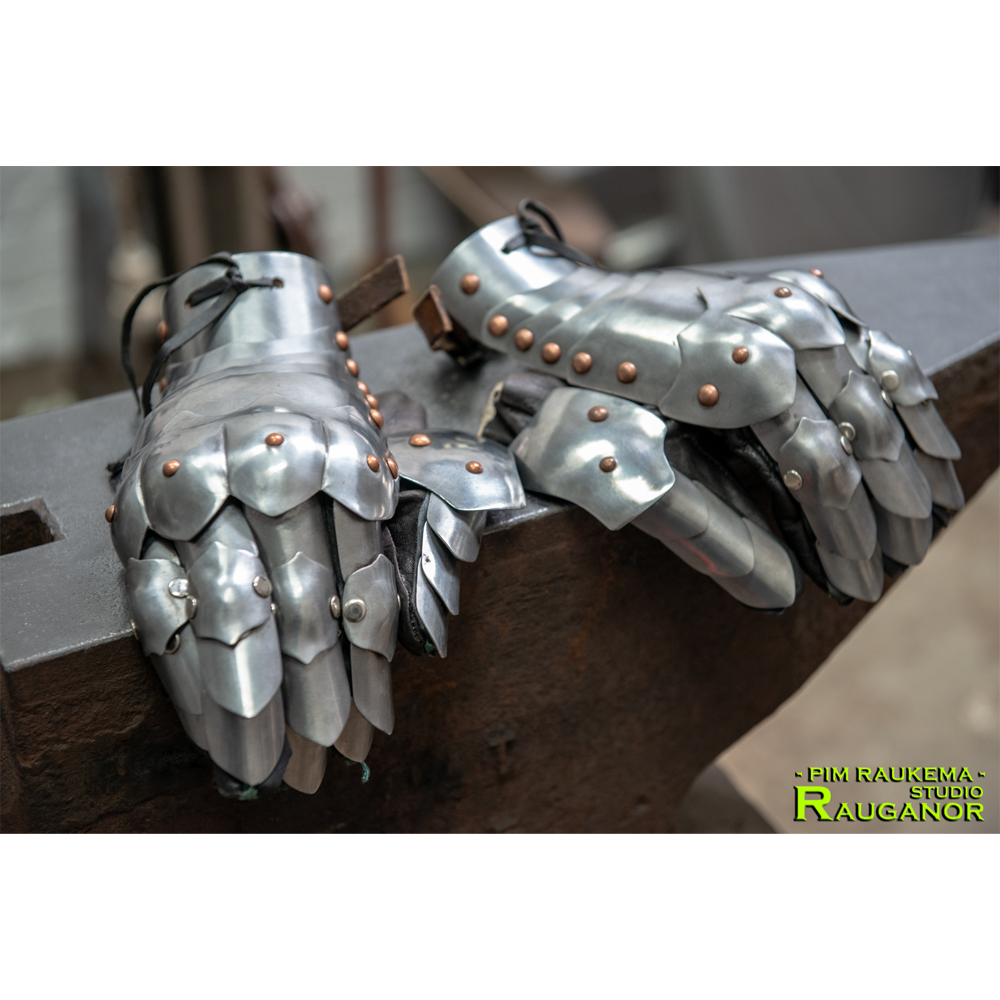
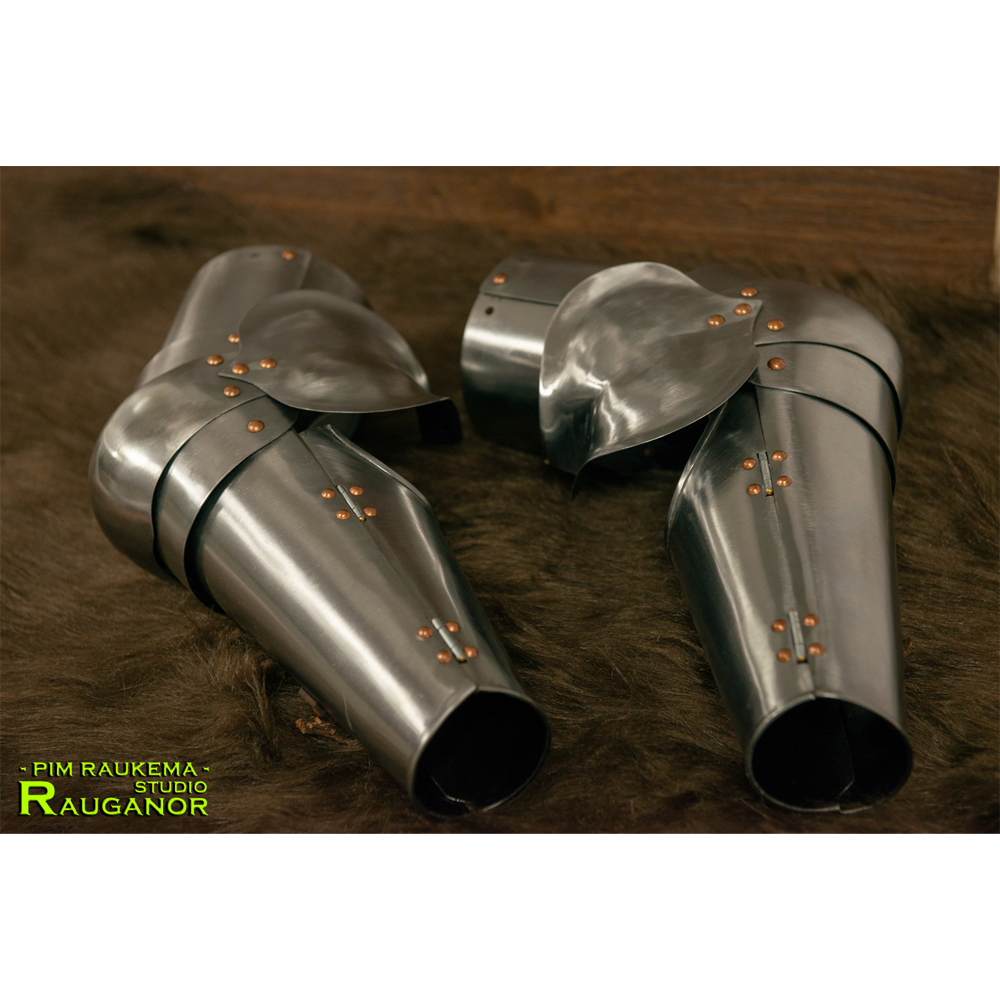
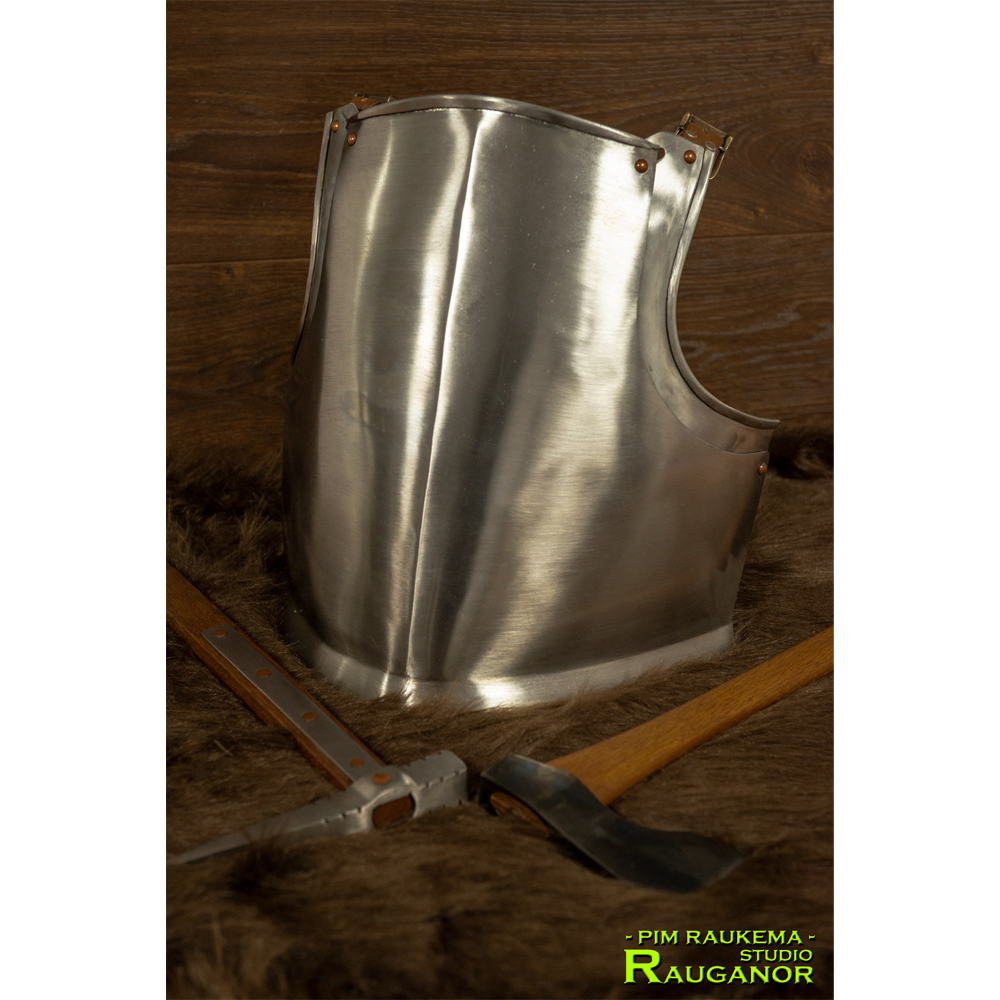
Armour
A piece of plate armour starts out as a flat sheet of (mild) steel. A custom made pattern is then traced upon the surface and cut out with a metal shear. This piece is than forged into shape with the use of different stakes and hammers, some of which I have made myself. After shaping and test fitting the piece is ground to a fine grid so that it has a smooth finish. I skip the polishing process because this will give the armour a reflective surface which can cause difficulties when using studio flash lights during a photoshoot.
Each pattern is drawn out using the measurements taken from either a model or a mannequin. These will give a basic estimation of the dimensions of the finished armour. The pattern is a flat surface while the piece itself will be curved and rounded. This is why the pattern is more of a guideline and the armour will have to be test fitted during the forging process to make sure it will properly fit when finished.
Other pieces of armour that I make are made out of a combination of leather, chianmail or scalemail. These can be combined with the different pieces of plate armour to give the overall design a more interesting appearance.


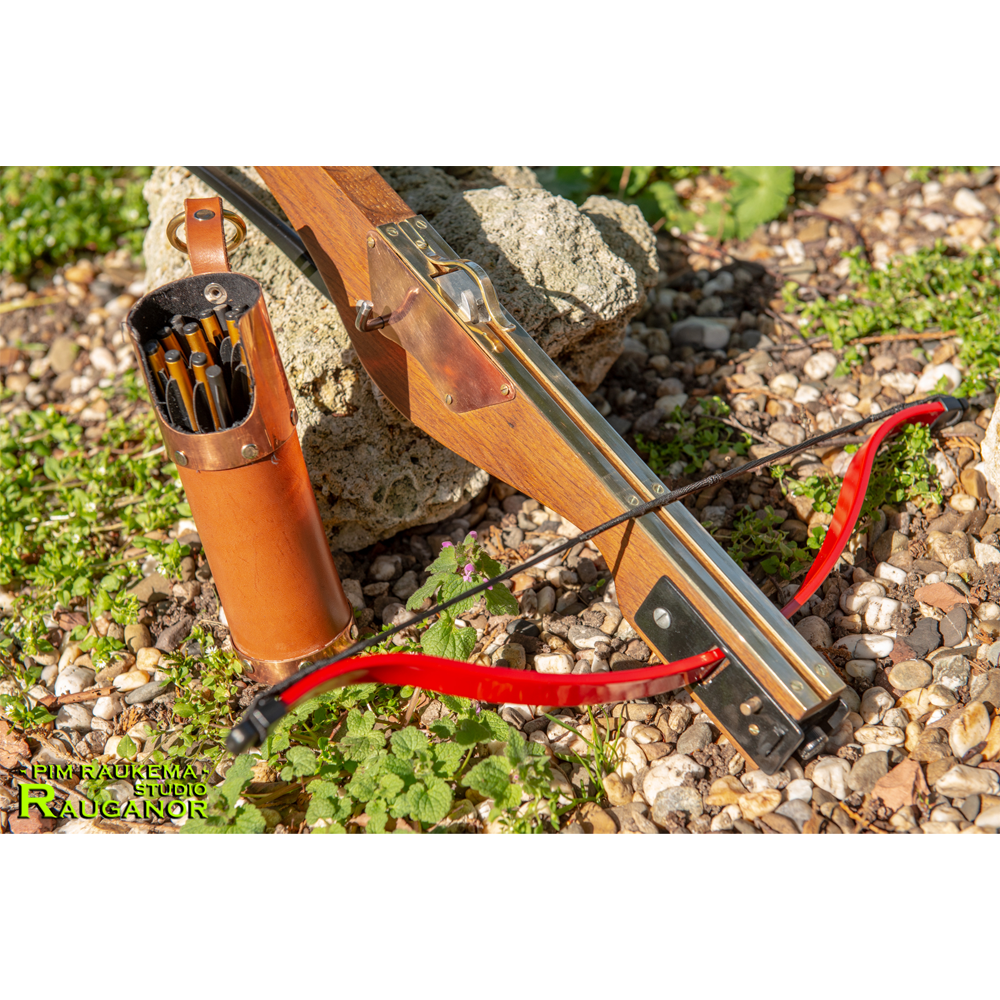
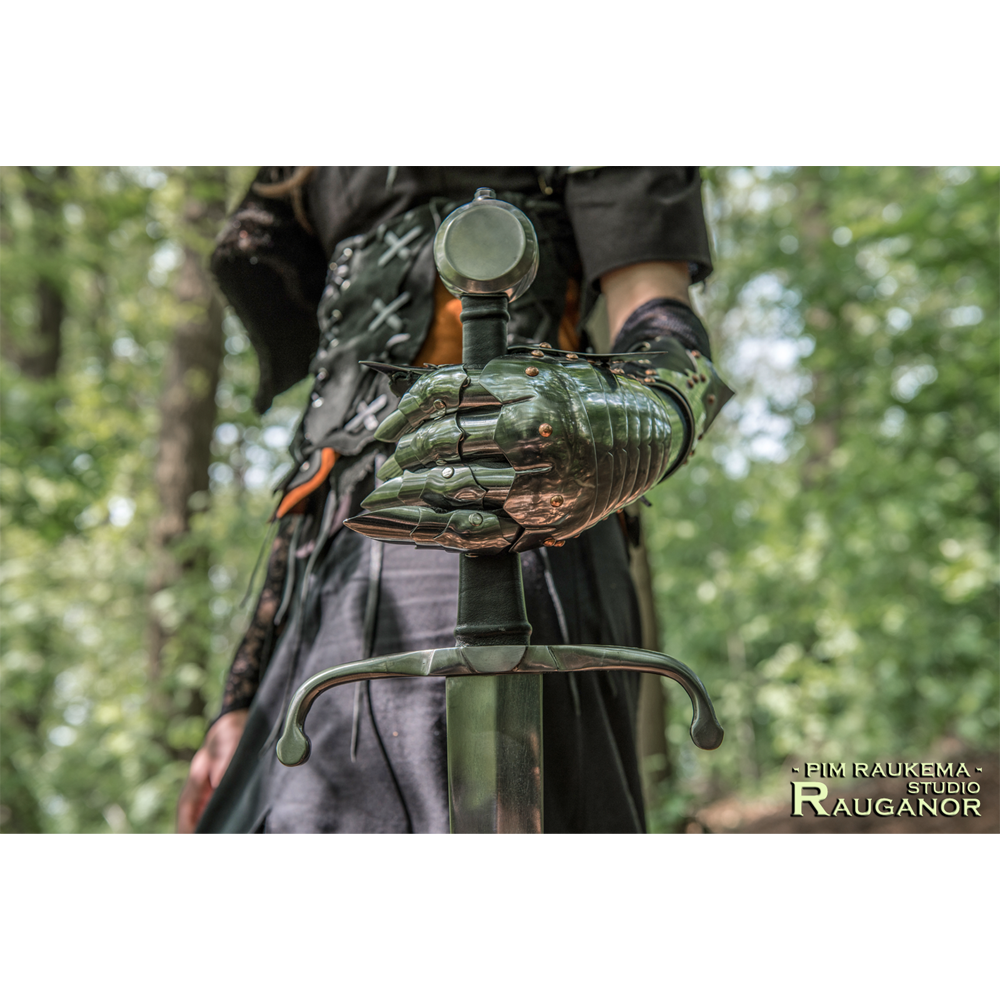
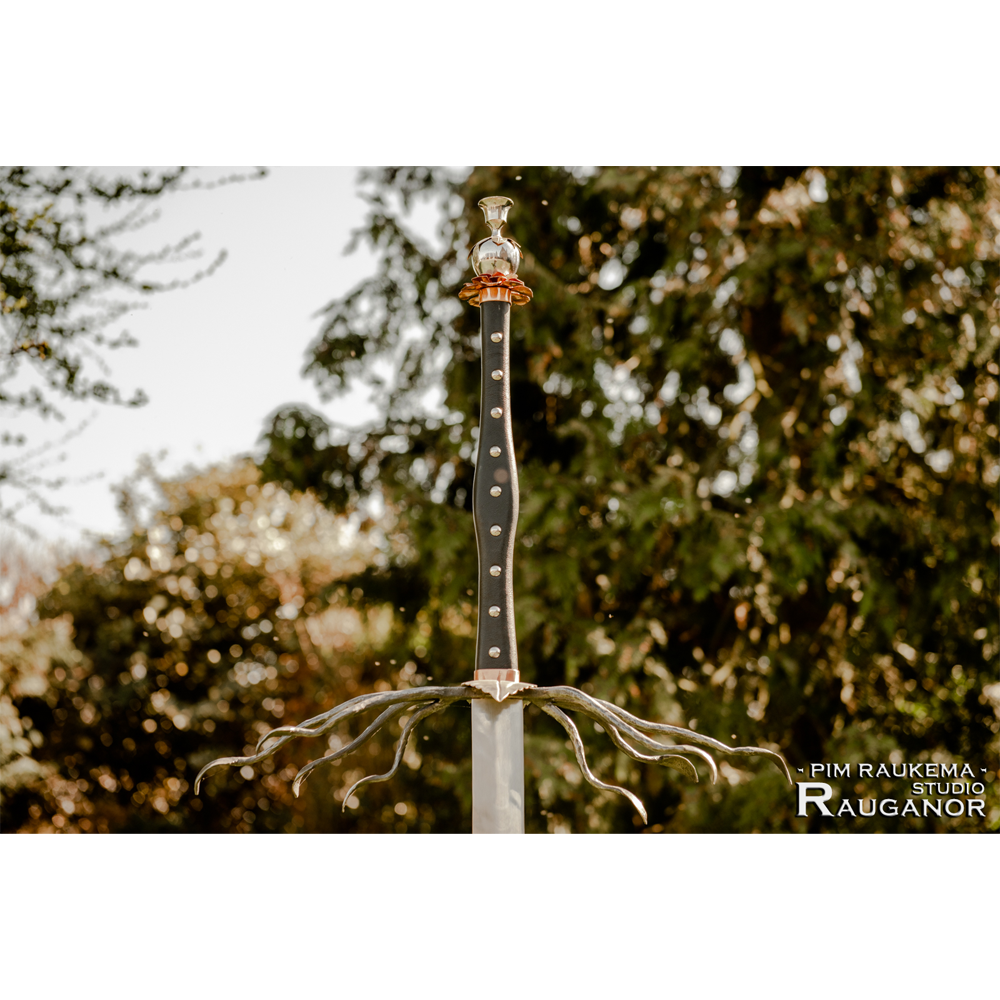
Weapons
Each weapon that I make starts with a design. This can be inspired by existing historical pieces or is based on those used in movies and videogames. The very first weapon that I made was an iron version of the Master Sword from the Legend of Zelda. Definitely not my best work, but it was a start to where I am today.
I use different methods of fabrication to make my weapons. Smaller weapons such as knives are either forged or ground into shape (stock removeable). The same goes for swords although to save time I can also take an existing sword and customize it. This means that I remove the guard, handle and pommel and replace them with my own after I have reshaped the blade.
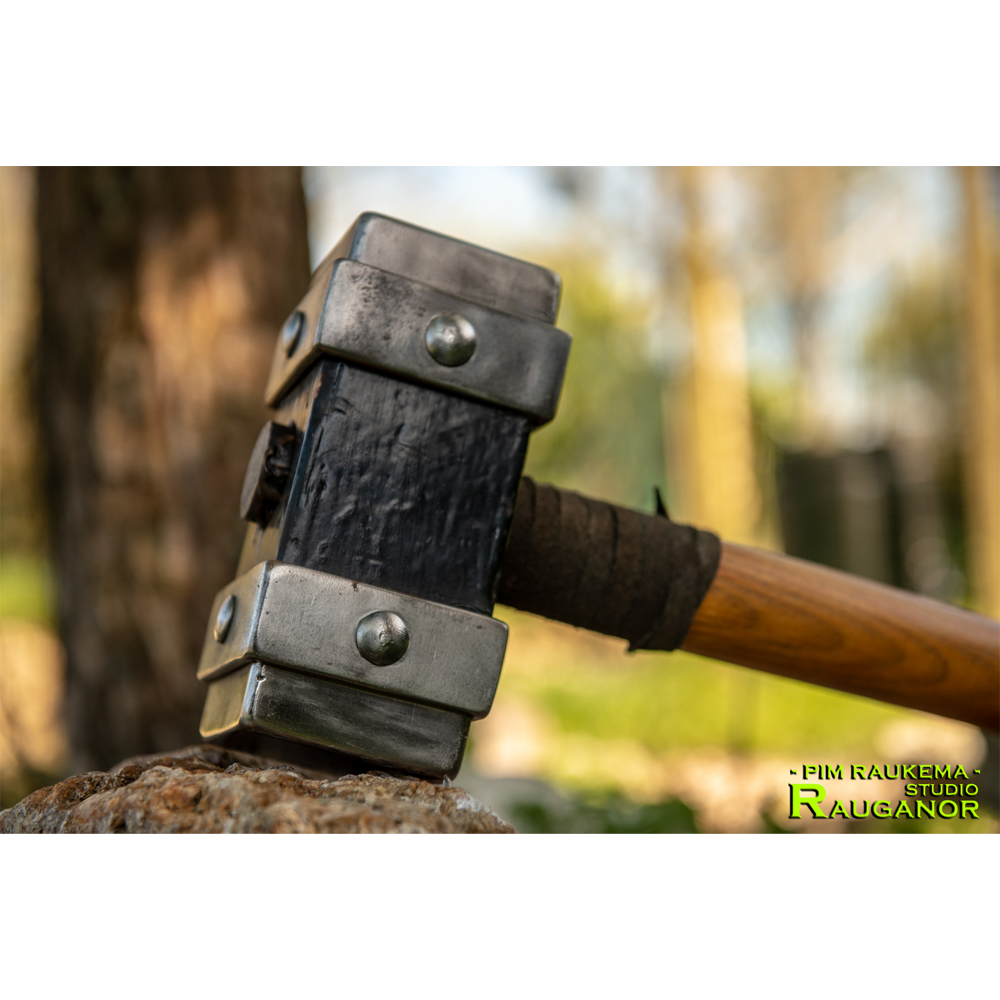
Bigger weapons such as the more fantasy styled warhammers are made up out of different piece of steel that I have welded together. This is to reduce the weight because otherwise it would be too heavy to use it during posing for a photoshoot.

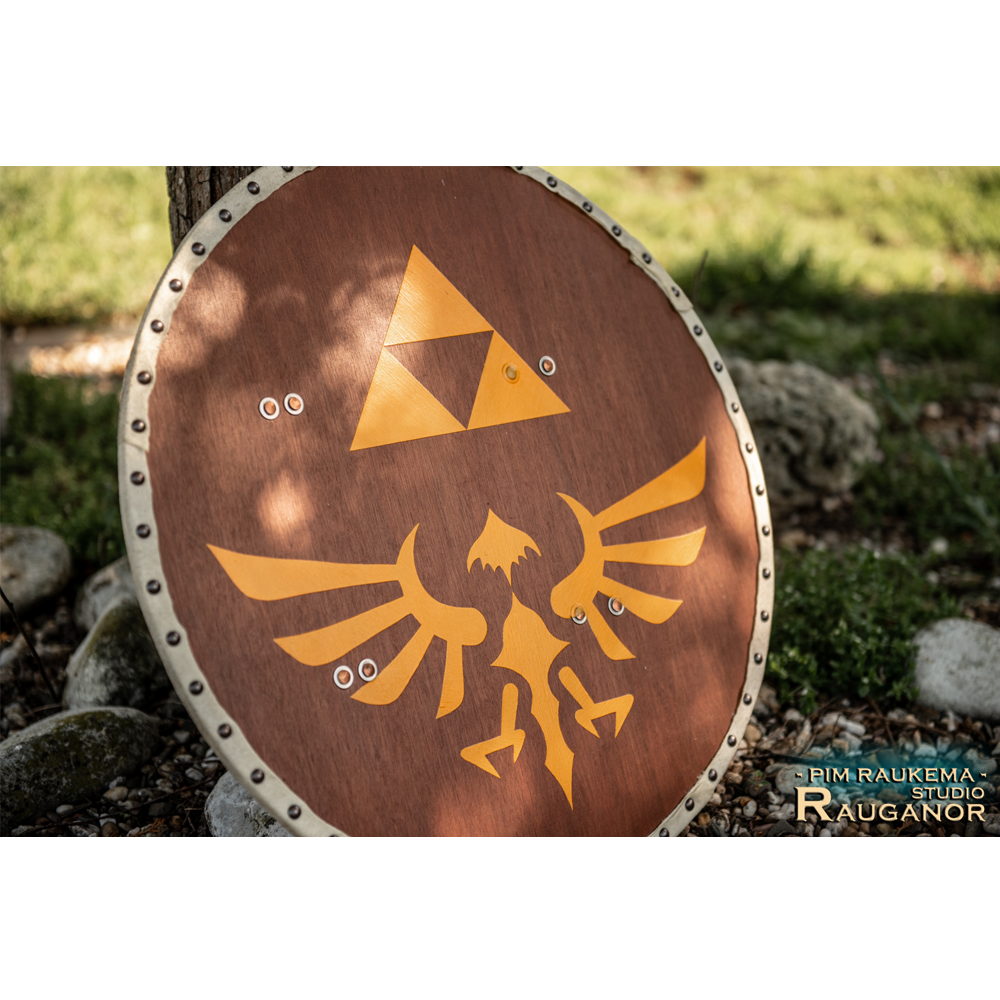
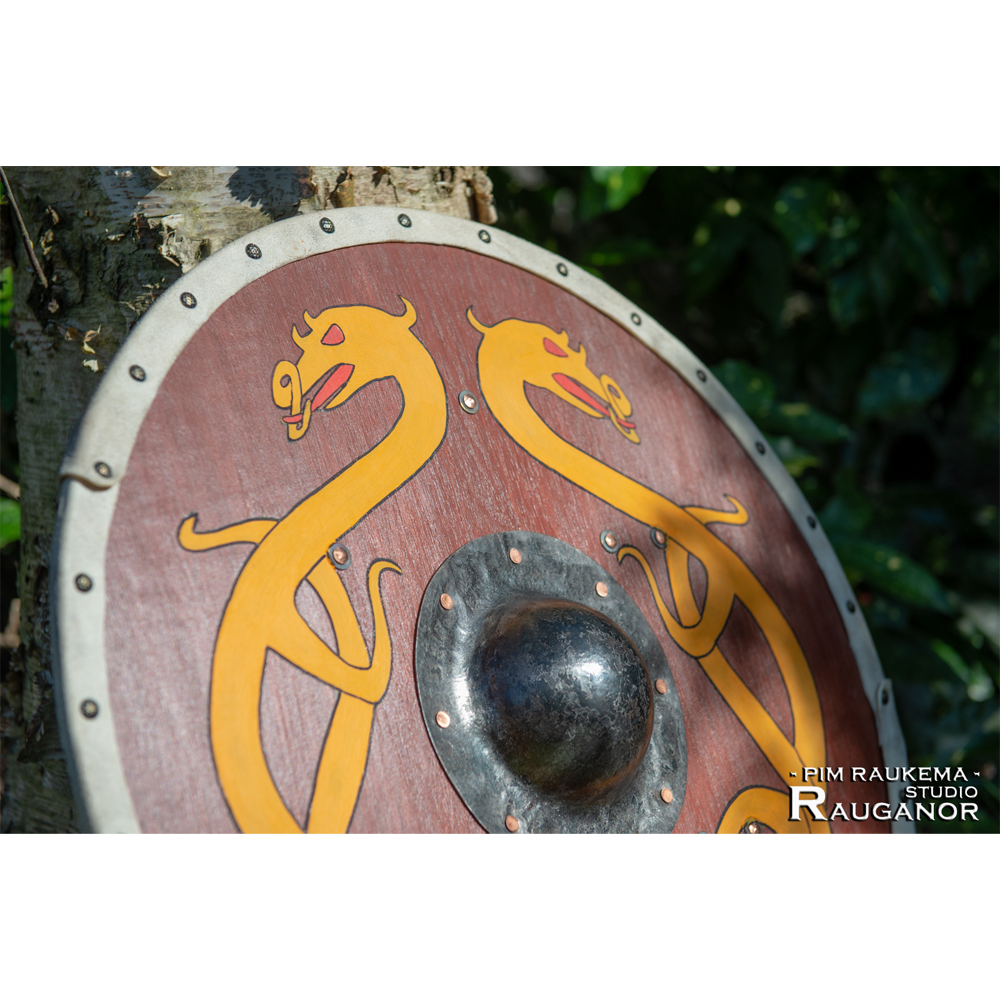
Shields
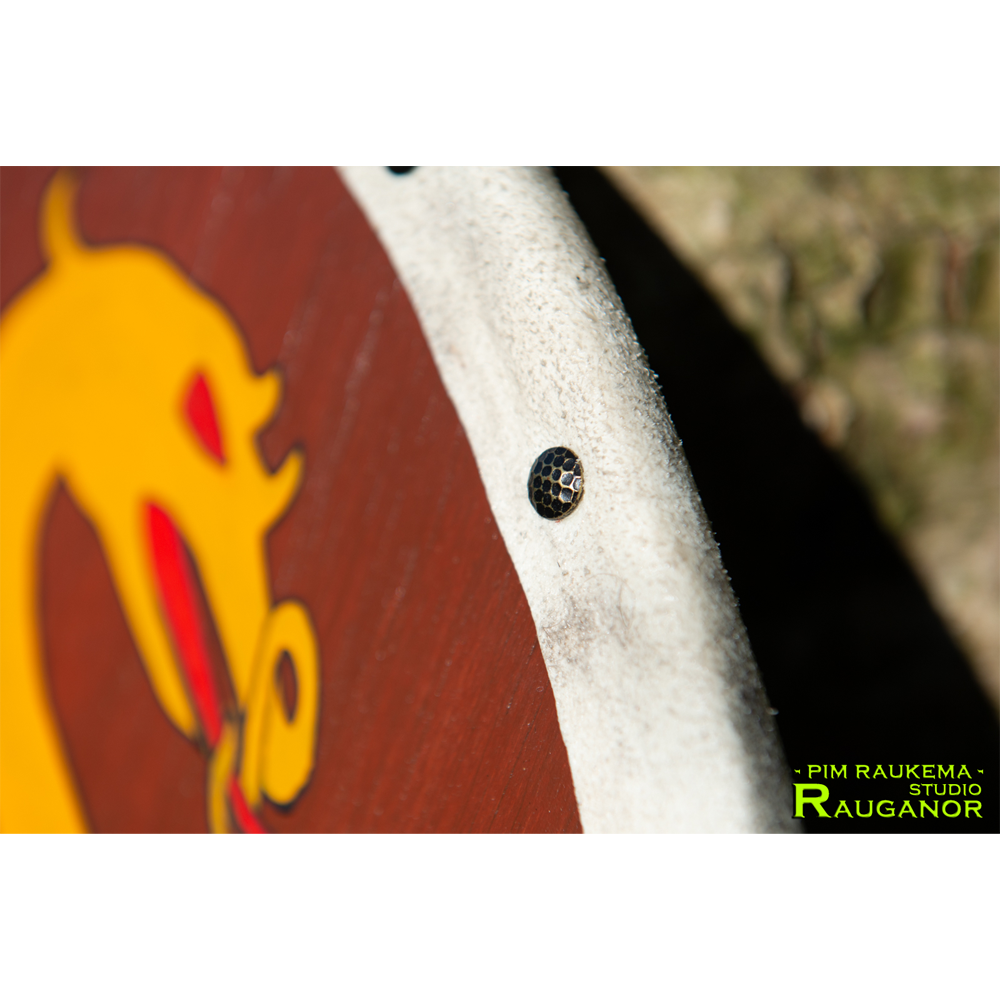
The shields that I make are inspired by the early medieval round shields such as those used by the Vikings. First a piece of plywood that gets cut into shape. This is then stained to protect the wood and give it a darker color. A forged steel shield boss can then be attached to the shield. Next a strip of wet rawhide leather is nailed around the edge. As the rawhide dries it will shrink and become harder. This extra strenghtens the outer edge, thus preventing damage to the shield. A coat of varnish is given to the rawhide to protect it against getting wet. After this an optional decorative design can be applied to the shield.
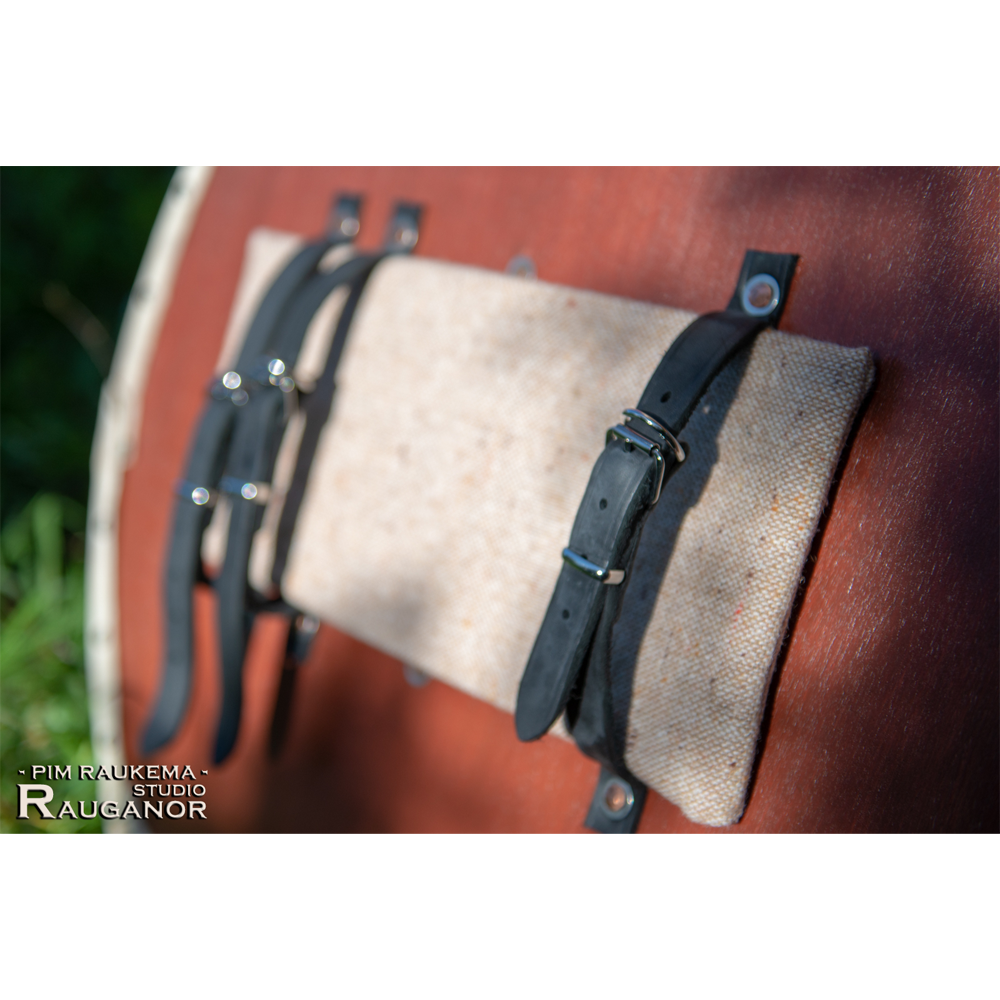
There are two ways to hold these shields. The first is a steel bar that is riveted to the wood and the shield boss in the centre of the shield. To provide room for the hand, a circle is cut out of the wood so that the fingers can wrap around the handle inside of the shield boss. The second method is by leather straps that are attached to the back of the shield, as can be seen with other types of shields.


The adventures of Ewart
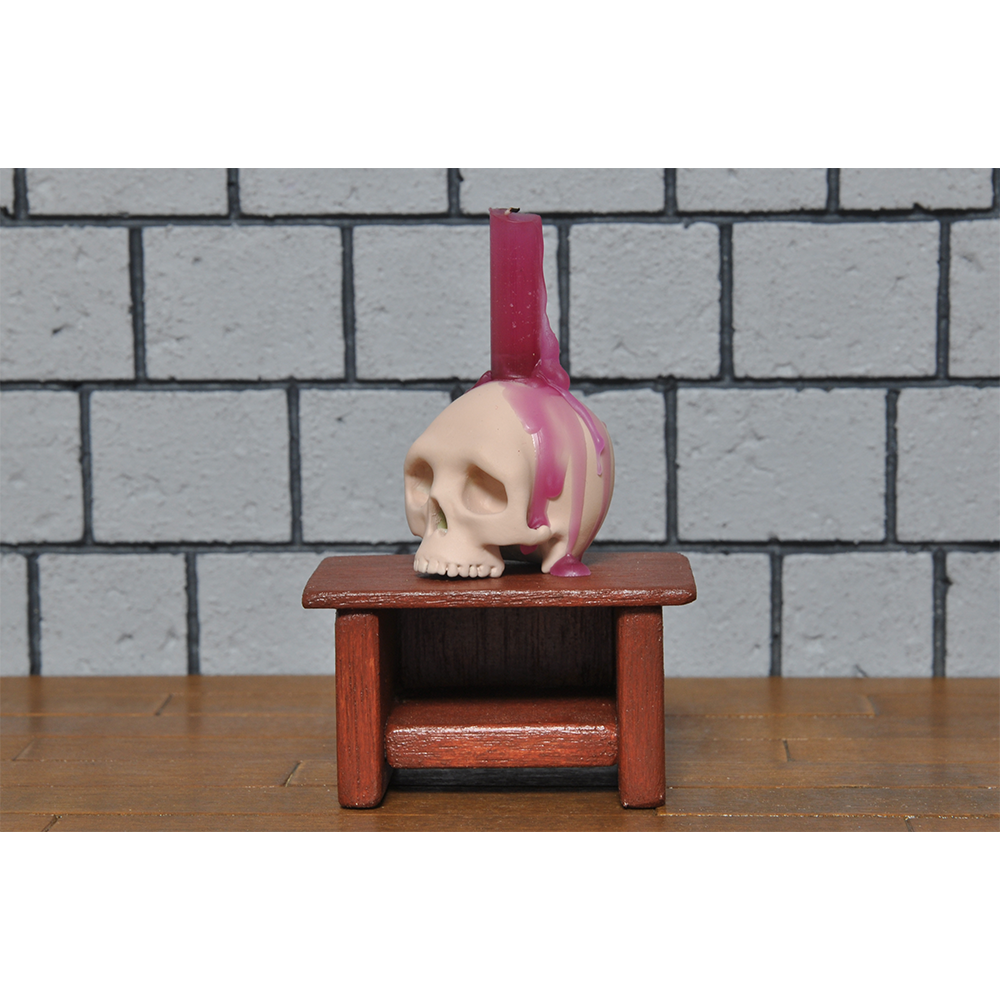
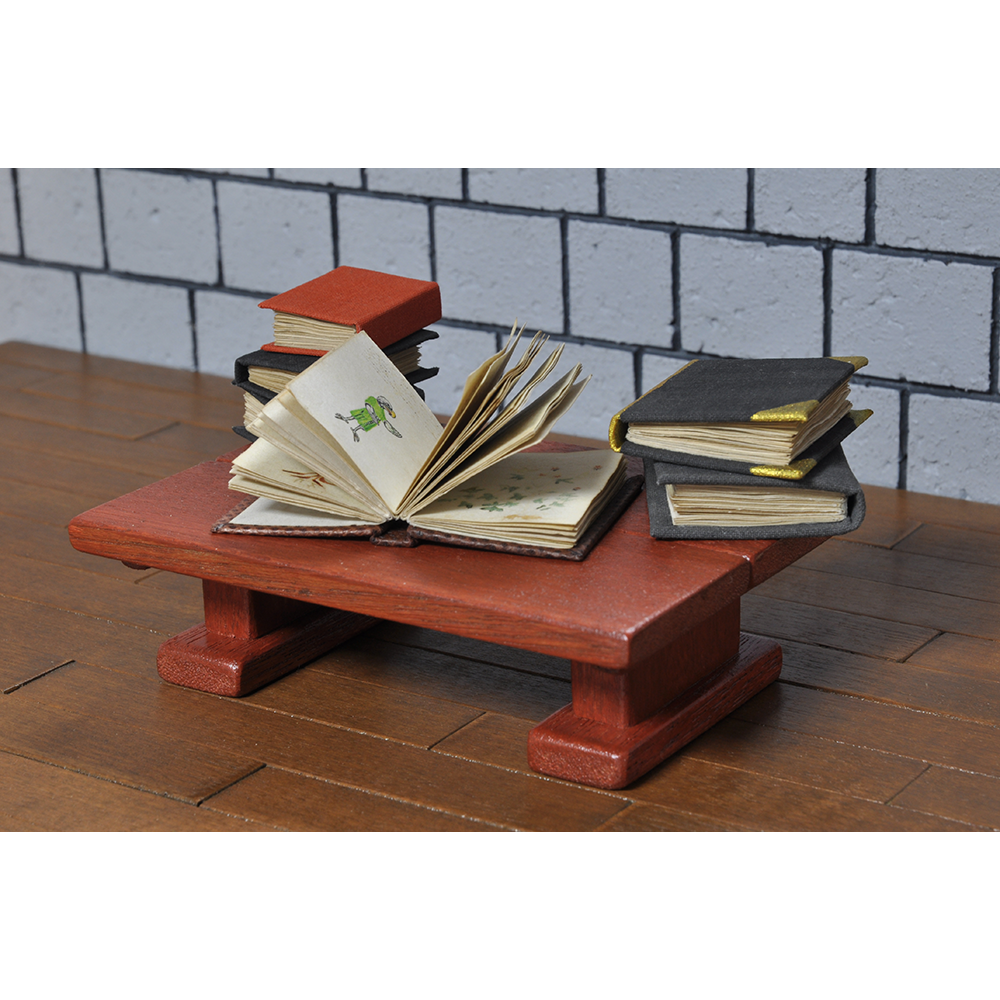
The backgrounds and sets that are used in the creation of The adventures of Ewart are made from different materials. The castle walls are made of polystyrene foam, in which a stone structure is applied using a soldering iron. The walls are then treated with a primer and coated with several layers of textured paint. The doors and furniture are made out of (hard) wood. This not only makes them more durable, but it also gives the wood a darker color. The wooden floors consist of several pieces of plywood. The rounded edges give the overall image more depth. To make the forest, I made several trees with the help of my 3D printer. The trunks and branches are printed separately and later attached to each other. The trees in the foreground are quite low, those in the background have an extra part that can be put on top to make them taller.
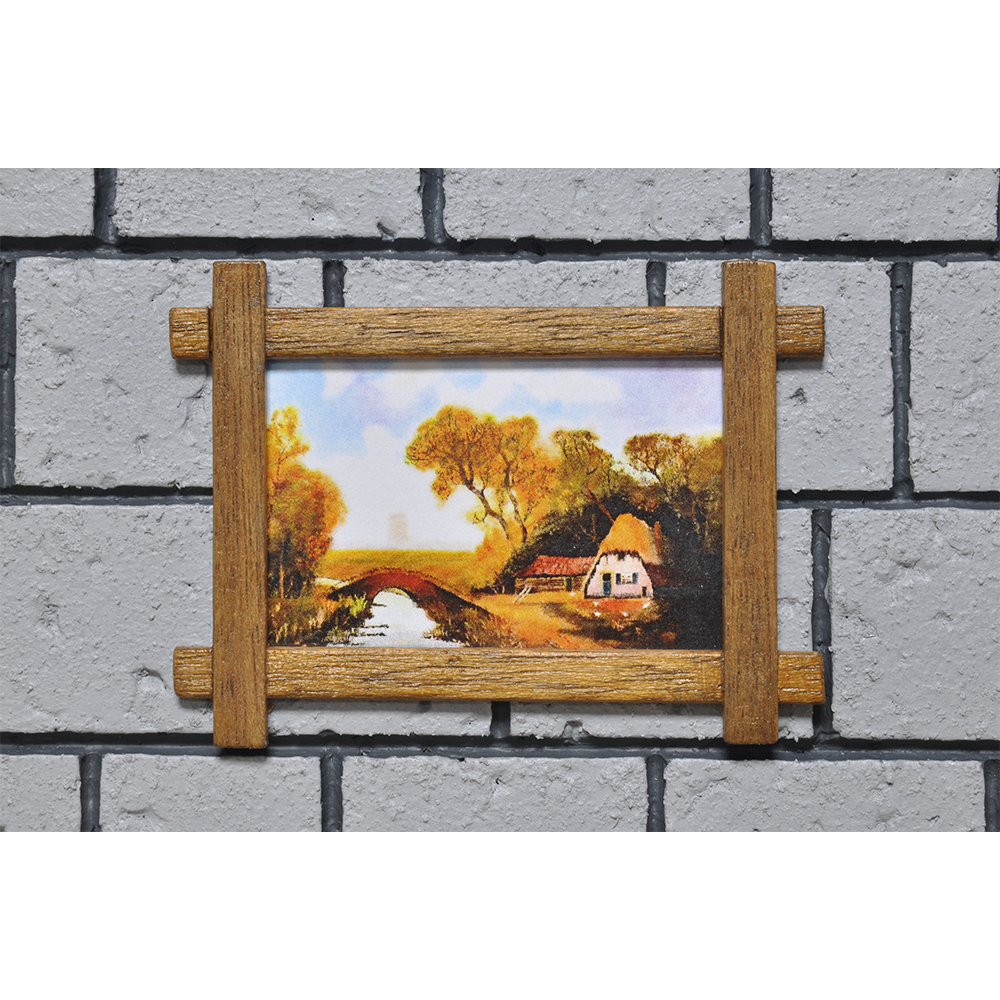
A large part of the utensils are also made by myself and I have tried to use as many real materials as possible. This gives each image a more realistic appearance, despite the fact that the different characters are designed as toy figures. Ewart’s sword is therefore made out of real steel and brass. His shield is constructed from two layers of curved balsa wood. The magic books are really bound and contain separate pages full of texts and pictures. The most important book even has a real leather cover. It is also nice to mention that the painting that hangs in Ewart’s house was painted by my grandfather. I photographed, resized and printed this. A wooden frame completes it.


©2019 Studio Rauganor – Pim Raukema. Privacy statement.